Banner

Banner
THIS SITES HAS MOVED: www.tabitharayne.com
Showing posts with label Giving Back. Show all posts

Friday, 17 October 2014

Giving back with Kay Jaybee!

Isn't she lovely?!
Hello! It's Giving Back to the Internet time! And today I have the saucy minx Kay Jaybee here to share her love of scones - if you would like to share some top tips here with me (any subject) just drop me an email - tabitharayne@gmail.com - here's the original invitation.
So take it away Kay!
Adding Flavour

Ohh- so Tabitha asked if I’d like to write a blog giving advice about something I know about- something I can give tips about...but not necessarily about writing.

I’ll be honest, this is tricky- because pretty much all I do (including when I’m at work) is write things down. I write about writing, or I write stories, or I write educational blogs. I live therefore I write. You get the idea.
But surely I must be good at something else? I must have some handy top tips to share; some useful wisdom to impart that doesn’t involve holding a pen?
I did what all sensible adults do when facing the reality that their brains can’t see beyond the next task at work- I asked my children what top tips I could give you today. And, in the way of all teenagers, they both looked at me like I was quite crackers, and gave me a whole long list of stuff I can do that doesn’t involve a pen. A ballot was instantly held, and it was decided- well they told me- that I should tell you about scones. Yes, you read that correctly- scones.
I love scones. I have always loved scones- with butter obviously. No point in having anything low fat about a scone- otherwise, why eat one in the first place?
Obviously there are three main flavours of scone- your traditional plain (bring on the cream tea!!), the fruit scone, and the (oh so delicious) cheese scone.
But why stop there?
When I lived in Scotland I used to work in a gorgeous out of town store that included a fabulous cafe, in which they served a varying selection of different flavoured scones each day. This wonderful place, now gone, first introduced me to the delights of the Mars Bar scone, the white chocolate and raspberry scone, the lemon and coconut scone, the apple and cinnamon scone....I could go on.
It wasn’t long after I started working there that my own scone cooking began to be somewhat pepped up!!
So why not give it a go yourself!!??
Here’s the basic recipe- you could literary add anything edible that you like! Sweet or savoury!!
Ingredients-
8oz self raising flour
1 teaspoon baking powder
2oz butter
1oz caster sugar
A big handful of whatever it is you have decided to add, eg grated cheese, chopped Malteasers, diced cooked peppers and sausage...etc etc
¼ pint of milk


Method-
Heat the oven to gas mark 8 or 230c
Lightly flour a baking tray
Sieve the flour and baking powder into a bowl, then rub in the butter. Mix the sugar into the crumb like mixture. Add in your special flavour, e.g. raisins and grated stilton (ohhh, that combination has only just popped into my head- I might have to try that later- sounds nice!!)
Make a small well-like hollow in the middle of the mixture with a knife, and tip in nearly all the milk. Stir from the inside outwards with the knife, until all the mixture is taken up and you have a ball of dough. (You might need to get your hands in there towards the end)
Flour a surface and using a rolling pin, roll out the dough so it is about an inch thick. Cut out circular scone shapes, and place them on the baking tray.
Finally paint the tops of the scones with the remaining milk. If making cheese scones, add a sprinkle of extra grated cheese on the top.
Oh lord, is it elevenses time yet?
Then cook in the oven for approx 10 minutes. Thicker scones will take a little longer.
And then eat them while they are hot- with loads of running butter spread in the middle- YUM!!!!
***
Hope you’ve enjoyed my scone tip!! I’d love to hear about any new (and weird) scone flavour you try!!
I think the weirdest one I’ve ever had was the pizza scone- or maybe the pineapple and banana ones...
Happy munching everyone,
Kay xxx
Kay Jaybee wrote The Perfect Submissive Trilogy, (Xcite 2011-14), The Voyeur, (Xcite 2012), Making Him Wait (Sweetmeats, 2012), Digging Deep, (Xcite 2013),  Not Her Type (1001 NightsPress, 2013), and The Collector (Austin & Macauley, 2012).
Details of all her other work can be found at www.kayjaybee.me.uk  

OK - I know what's for afternoon tea today - thanks Kay x x Remember to join Kay and the other Brit Babes for chat and fun over at TheBritBabes.co.uk
Remember, drop me a line if you fancy joining in :D tabitharayne@gmail.com

Monday, 15 September 2014

How to make a sexy stocking Puppet!

Hey there me hearties!

Now I'm sure you all took part in the Snog for Sommer yesterday and were coveting one or two of the prizes... If you didn't win a certain sexy puppet - never fear! As part of my Giving Back to the Internet series (see here) I'm showing you how to make your very own! By the way - if the posts are still up - you have to look at them - I have been astonished at some of the writing as I catch up with them today...

And so to the main event!
How to make this little beauty!

Yes, this could be yours...

Let's begin!

1: Choose an old but clean stocking
This is a French heel but Cuban is equally good

2: Fold back the toe and secure with glue to make a face

3: Choose a strong red vinyl and draw
on some pouty lips*

4: Cut out lips (careful scissors are sharp!)


5: Insert your arm into the stocking to find
where the lips should be placed

6: Glue on the lips making sure
there is a mouth space

7: Begin drawing the eyes-
I used the back of the lip vinyl
8: Make them as sultry as possible
Think - Margarita Pracatan

9: Is she a blue eyed beauty? Or brown
the choice is yours...

10: Careful with those peepers

11: Glue on in a sexy position - remember -
expression is key - along with glamour
I have chosen a Marylin Monroe inspired hair-do
Classic and chic - timeless for the modern
woman

12: Accessorize to your heart's content.
Real gemstones give that
certain je ne sais quoi.
I have used a rose quartz
choker for added class

Now off you go! Time is a wastin'

*Lips inspired by Salvador Dali's room for Mae West
Borrowed from Pinterest

Monday, 8 September 2014

Giving Back with Vida's Vulva Cupcakes

Yes! I put a call out for lovely guests who want to Give Back to the internet by sharing something that others may not know - Check out the post here - and give me a shout if you fancy joining in!
My first guest is the wonderful Vida Bailey who is sharing her extensive knowledge of butter cream icing - fuck yeah!!! Take it away Ms B

Butter cream, mmm, butter cream.
047.JPGExcept... any time I buy a cupcake it tastes of icing sugar and paste. Huge heaps of it. On a dry cupcake. I won’t go there today, let’s stick with the butter cream. A friend said she doesn’t like cupcakes because the frosting doesn’t taste of anything. She hasn’t had mine yet! My cupcakes bring all the girls (and often discerning boys) to the yard.
But, I do agree that it’s a frosting that is a little too sweet for a lot of adult palates. And yes, children tend to eat the frosting and then leave the cake – maybe there’s a (slightly disgusting and unhygienic) solution to be found in that equation. I do have a friend who saves the frosting ‘til last, but I think that’s a waste. There should be enough for every bite, in my boring opinion. Not do I agree with the friend who critiqued my cupcakes by saying you shouldn’t see any cake at the edge. I don’t think that’s true, personally. Less is more, and anyway, I make up for it with the height of the swirl, not the width of it. Rose swirls go all the way to the edge, the others don’t have to.
I’m getting ahead of myself. Pasty frosting. Puts people off cupcakes, makes them disparage them as ‘just buns for yummy mummies to get competitive over’.
033.JPG
I disagree. To the point that I find myself filled with an inexplicable rage when I hear this opinion aired. Or maybe I just don’t like my co-worker very much. Anyway...
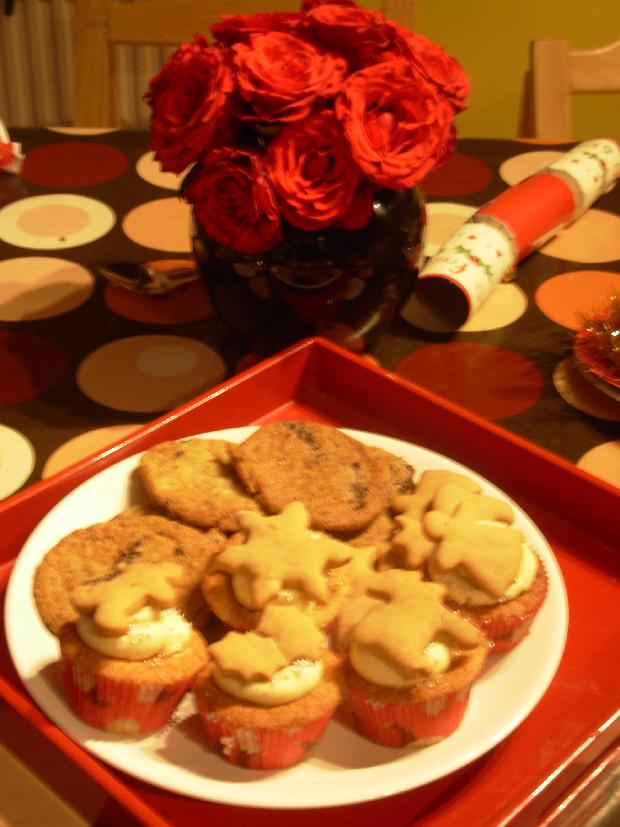
My butter cream frosting has butter. And cream. And a variety of flavours. What Christmas fare do we have here? Chai cupcakes with cherry filling and white chocolate vanilla butter cream topped with a cookie. That white chocolate frosting is incredible on dark chocolate cupcakes dusted with cinnamon.
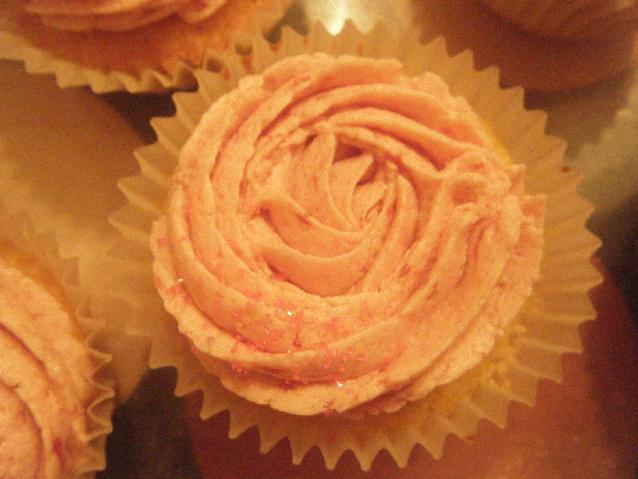
Or a strawberry cupcake with fresh strawberry and liqueur butter cream... these are a palate surprising revelation, let me tell you.


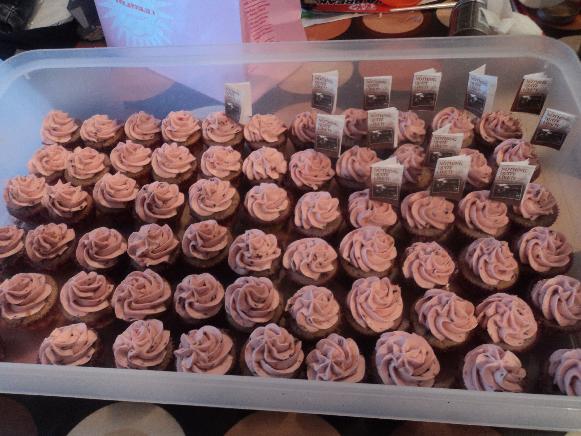
017.JPGContinuing the fruit theme, blackberry minis with blackberry and whiskey frosting, for a book launch – berries gathered from the house where the memoir is set! This was a really lovely one.


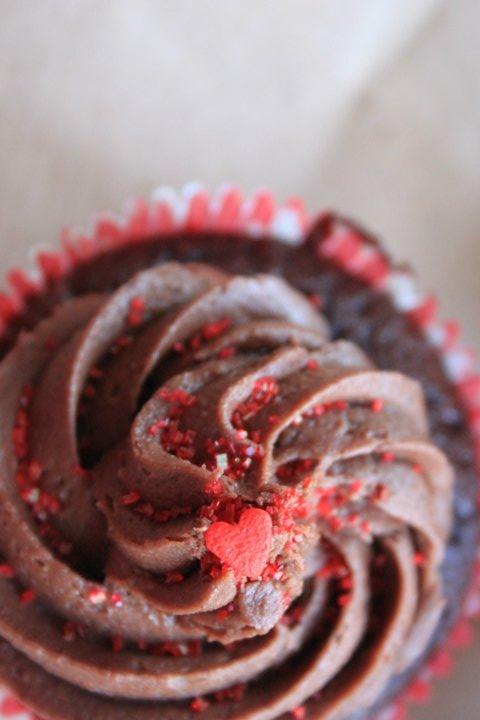
Vanilla chocolate butter cream modified from a favourite cake recipe. Photo credit to my friend Nicola.
So, how? Well, babies, let me tell you. I’m afraid a Kitchen Aid style cake mixer makes life an awful lot easier. I know it’s out of budget for a lot of people – it was out of budget for me, but I bought it anyway. I’m probably still paying it off about four years later, but I’m still glad I did. If you don’t have one, a hand held mixer will do.
choccupcake.jpgStart with about half a pound of butter, mix it ‘til it’s creamy. If you’re adding melted chocolate, mix it in afterwards. Slowly add about three cups of icing sugar bit by bit. If adding cocoa or drinking chocolate, mix it in with the sugar. Once it’s incorporated, pop on your mixer to medium speed and let it mix away for a while, ‘til it gets paler. Now you can add your vanilla (I would suggest always adding  vanilla, vanilla makes everything better). Any other liquid flavours like liqueur or lemon go in now too. You can add your fruit purée then, pop it in bit by bit, so it doesn’t curdle. I’ve had really good results with strawberry, berries, lemon (zest and essence) and passion fruit.  I used to put in a couple tablespoons of cream, but now I find myself adding more, as the lighter and fluffier the better. You can’t really beat it too long – the longer you leave it the whiter, creamier and lovelier it becomes.
006.JPG
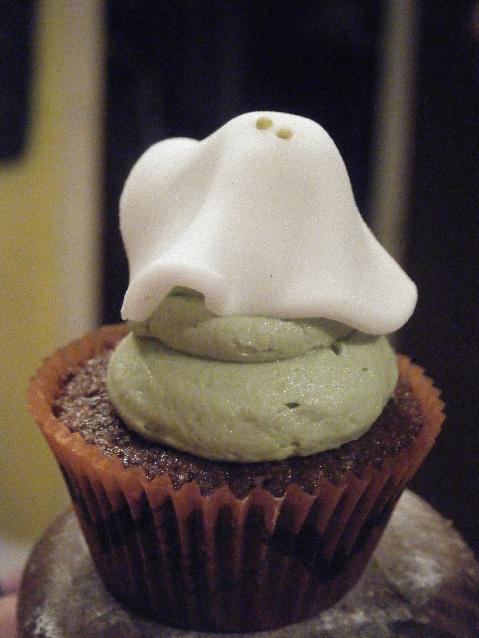
Halloween Mint Aero frosted chocolate cakes, with ghosties
Then, put your icing nozzle into a big icing bag. Buy the big wide pastry tips and maybe a coupler too. You want a closed star tip for swirls. Get a container or pint glass, drop the bag in and fold it down over the edge – makes it easier to fill with icing. Squeeze the air out, twist the top, and hold it firmly while you ice your cakes. Turn your cake as you go. If you’re putting on sprinkles or anything, better do it before you refrigerate. I don’t know, they say not to put cupcakes in the fridge, but I actually like them solid as well, with all the flavours condensing together. There are great videos on youtube that illustrate all this and more.

033.JPG
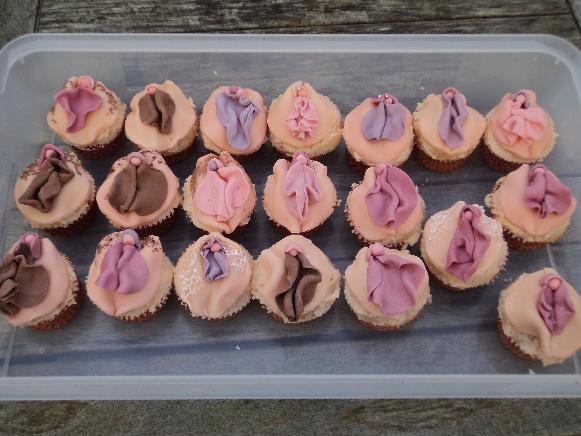
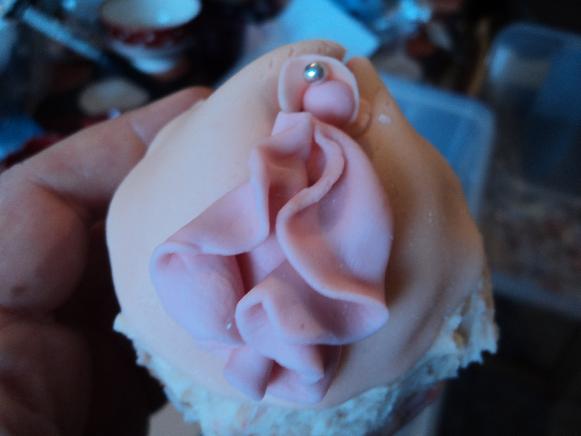
Let me leave you with a little bit of fun, just to keep things erotic. I made these for a Tantra workshop. Can you spot yours? ;)

028.JPG
Wow! Thanks so much for all this information Vida! My favourite are the vulvas - absolutely superb - I must give them a go.
Thanks for joining in the Giving Back to the Internet fun :D

By the way - if you're new to Vida - please take a look at her blog and tumblr - totally shamazeballs of butter cream and more including erotic writing - find her at these places x x x